
Introduction: The Draft You Can’t Ignore
It’s a typical January evening in Ontario. The thermostat is set to 22°C, the furnace is running, and yet the living room still feels cold. You move closer to the couch and notice a faint draft along the baseboard. Upstairs, one bedroom is stuffy while another is freezing.
Your heating bill arrives the next week. Higher than expected. Again.
For many Canadian homeowners, this isn’t an insulation problem. It’s an air leakage problem.
Before upgrading windows. Before replacing your furnace. Before installing solar panels. The most practical step toward lower heating bills and better comfort is often air sealing your home.
If you want to reduce drafts in Ontario, improve comfort, and create a smarter path toward energy efficiency, this guide will walk you through exactly what you need to know.
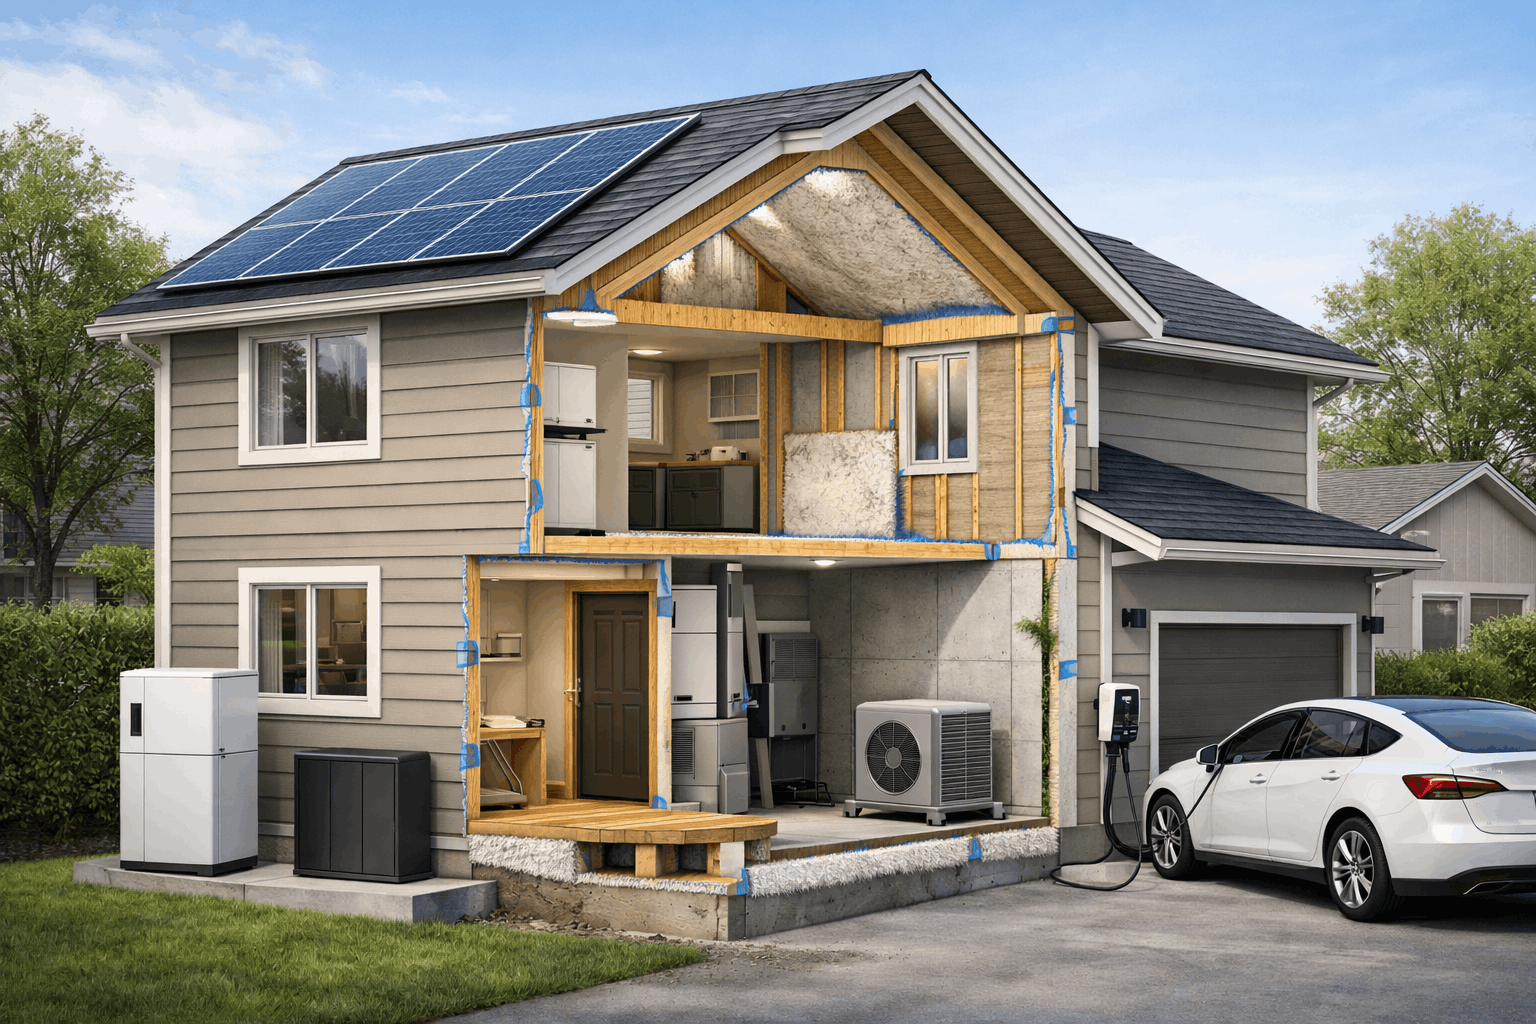
What Air Sealing Actually Means
Air sealing is the process of identifying and sealing uncontrolled air leaks in your home’s building envelope.
Your home’s “envelope” includes:
Exterior walls
Attic and roof
Basement and foundation
Windows and doors
Mechanical and plumbing penetrations
In winter, warm indoor air escapes through gaps and cracks. Cold outdoor air replaces it. Your heating system works harder. Comfort drops. Energy bills rise.
In summer, the reverse happens. Humid outdoor air infiltrates your home, increasing cooling costs and moisture risks.
Air sealing home Canada projects focus on stopping this uncontrolled airflow without compromising proper ventilation.
Common Leakage Areas in Ontario Homes
Older homes (pre-2000 especially) tend to leak around:
Attic hatches
Pot lights and ceiling fixtures
Top plates in the attic
Basement rim joists
Plumbing stacks
Electrical penetrations
Around windows and doors
Garage-to-house connections
Even newer homes can have significant leakage if air barrier details were poorly installed.
Why Air Sealing Matters More Than You Think
Many homeowners assume insulation is the main issue. But insulation doesn’t stop moving air.
If air is flowing through insulation, its performance drops significantly.
Air sealing:
Improves insulation effectiveness
Reduces drafts and cold spots
Lowers heating bills
Reduces risk of condensation and mold
Improves indoor air quality
Makes rooms more evenly heated
In cold climates like Ontario, uncontrolled air leakage can account for 20–40% of heating energy use.
That’s not minor. That’s foundational.
Cost Considerations in Canada
Air sealing costs vary based on home size, age, and access.
Typical Cost Ranges in Ontario
Basic DIY air sealing: $200–$600 in materials
Professional attic air sealing: $1,000–$3,000
Whole-home targeted air sealing with blower door testing: $2,000–$5,000+
Costs increase if:
Spray foam is required at rim joists
Attic insulation must be removed and reinstalled
Extensive sealing around complex rooflines is needed
Professional services often include a blower door test to measure air leakage before and after improvements.
Energy Savings and ROI
Homeowners often ask: Is it worth it?
In most Ontario homes, yes.
Air sealing projects typically reduce heating and cooling costs by:
10–25% depending on initial leakage
For a household spending $2,500 annually on heating and cooling, that could mean $250–$600 per year in savings.
Payback periods often range between:
3–7 years
But the real return includes:
Improved comfort
Reduced strain on HVAC systems
Lower carbon footprint
Better long-term building durability
Unlike cosmetic upgrades, air sealing produces measurable building performance improvements.
Common Mistakes Homeowners Make
1. Replacing Windows First
New windows are expensive. And unless existing ones are severely damaged, they rarely solve draft issues entirely.
Air leakage often occurs around the window framing not through the glass.
2. Adding Insulation Without Air Sealing
Blowing insulation into a leaky attic does not stop airflow. You’re insulating moving air.
Air sealing must come first.
3. Sealing Without Testing
Without a blower door test, you’re guessing.
Professional testing identifies:
Leakage rate (ACH)
Major leakage zones
Priority areas
4. Over-Sealing Without Ventilation Planning
A tighter home is good but it must breathe properly.
If your home becomes significantly tighter, mechanical ventilation (like an HRV) may be needed to maintain healthy indoor air quality.
Step-by-Step Decision Guidance
If you feel overwhelmed, follow this structured approach.
Step 1: Assess Your Symptoms
Ask yourself:
Do certain rooms feel colder?
Is the attic extremely cold and drafty?
Do you feel air movement near outlets?
Are heating bills climbing unexpectedly?
If yes, air leakage is likely part of the problem.
Step 2: Book an Energy Assessment
In Ontario, a registered energy advisor can perform:
Blower door testing
Thermal imaging
Leakage measurement
Upgrade prioritization
This transforms guesswork into data.
Step 3: Prioritize the Attic
In most Canadian homes, the attic is the biggest leakage point.
Warm air rises. If your attic isn’t sealed properly, you are literally heating the outdoors.
Key attic sealing measures include:
Sealing top plates
Spray foaming plumbing and electrical penetrations
Sealing attic hatch
Weatherstripping recessed lights
Sealing around chimney stacks
Step 4: Seal Basement and Rim Joists
Basement rim joists are another major leakage zone.
Closed-cell spray foam is often used here because it:
Air seals
Insulates
Controls moisture
Step 5: Address Windows and Doors
Only after major leakage zones are addressed should you:
Apply weatherstripping
Seal trim gaps
Use caulking where needed
Step 6: Retest
Blower door testing after improvements confirms results and ensures you haven’t compromised ventilation needs.
Ontario and Canadian Rebates
Air sealing often qualifies under broader home energy upgrade programs in Canada.
Programs typically require:
Pre- and post-retrofit energy assessments
Work completed by qualified professionals
Air sealing is frequently bundled with:
Attic insulation upgrades
Heat pump installations
Basement insulation improvements
While rebate structures change over time, air sealing home Canada improvements are commonly recognized as foundational efficiency upgrades within federal and provincial programs.
Working with a qualified advisor ensures you follow proper documentation steps.
When Air Sealing Makes Sense And When It Doesn’t
It Makes Sense If:
Your home was built before 2010
You experience noticeable drafts
Your heating bills feel high
You’re upgrading insulation
You’re planning a heat pump
You’re pursuing a Net Zero roadmap
It May Not Be a Priority If:
Your home is recently built to modern airtightness standards
You already tested below 2 ACH50
Your primary issue is mechanical system failure
Air sealing is not glamorous. But in most cases, it’s the highest-impact starting point.
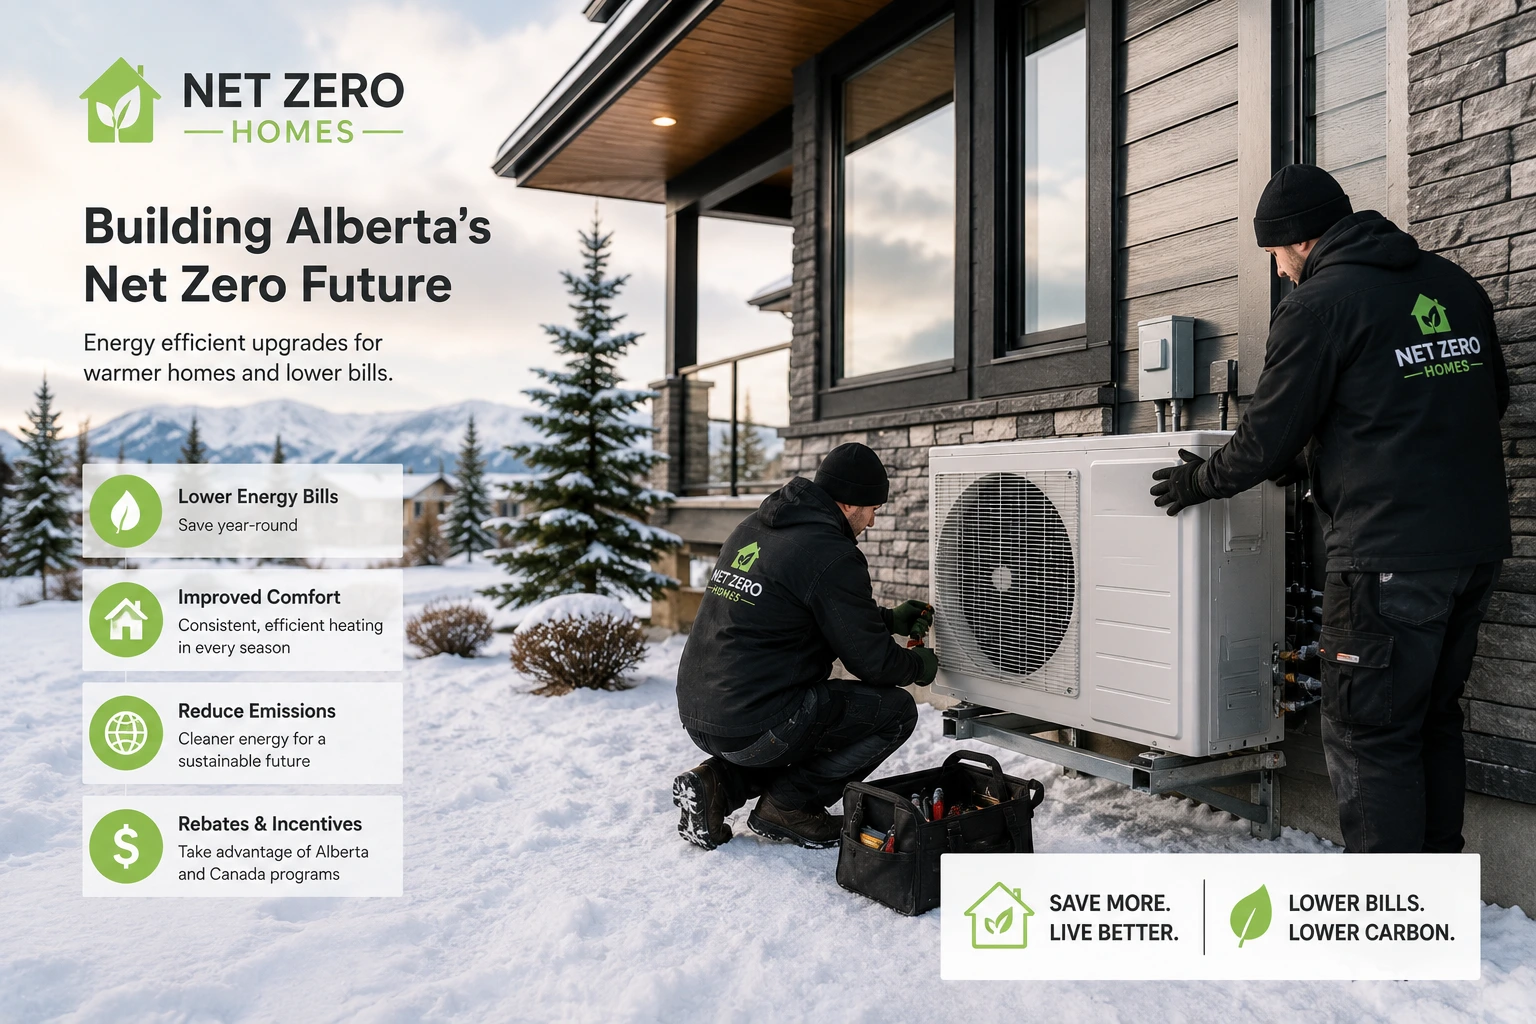
How Air Sealing Fits into a Net Zero Roadmap
Many Ontario homeowners want to “go Net Zero” but don’t know where to start.
Air sealing is step one.
A typical performance-based roadmap looks like this:
Air sealing
Attic insulation upgrade
Basement insulation improvement
High-efficiency heat pump
Smart controls
Solar PV system
Battery storage (optional)
Why start with air sealing?
Because every mechanical upgrade works better in a tight building envelope.
Installing a heat pump in a leaky home is like buying a new engine for a car with open windows in winter.
Reduce load first. Then upgrade systems.
That’s how you future-proof your home.
Real Homeowner Example
A 1985 detached home in Southern Ontario:
2,200 sq ft
Original attic insulation
Noticeable cold bedrooms
Initial blower door test: 6.5 ACH50 (leaky)
Upgrades performed:
Full attic air sealing
Rim joist spray foam
Weatherstripping improvements
Post-retrofit result: 3.8 ACH50
Heating bills dropped by approximately 18%.
Bedrooms became noticeably more comfortable.
Furnace cycling reduced.
No window replacements. No major renovations.
Just targeted home air leakage solutions.
Final Thoughts
Air sealing is not flashy. It doesn’t change how your home looks. But it changes how it performs.
For Canadian homeowners especially in Ontario’s cold winters uncontrolled air leakage quietly increases costs and reduces comfort year after year.
The good news?
It’s fixable. Measurable. And often affordable compared to other major upgrades.
If you’re planning insulation upgrades, considering a heat pump, or simply want to reduce drafts Ontario winters bring, air sealing should be at the top of your list.
Ready for a Customized Upgrade Roadmap?
If you’re unsure where your home stands, the best next step is a professional energy assessment and prioritized plan.
Book a consultation with Net Zero Homes Consulting to receive a customized upgrade roadmap tailored to your home, your budget, and your long-term energy goals.